Fields of View
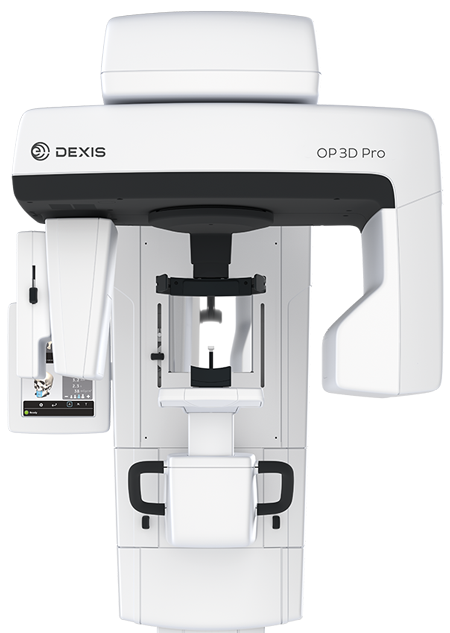
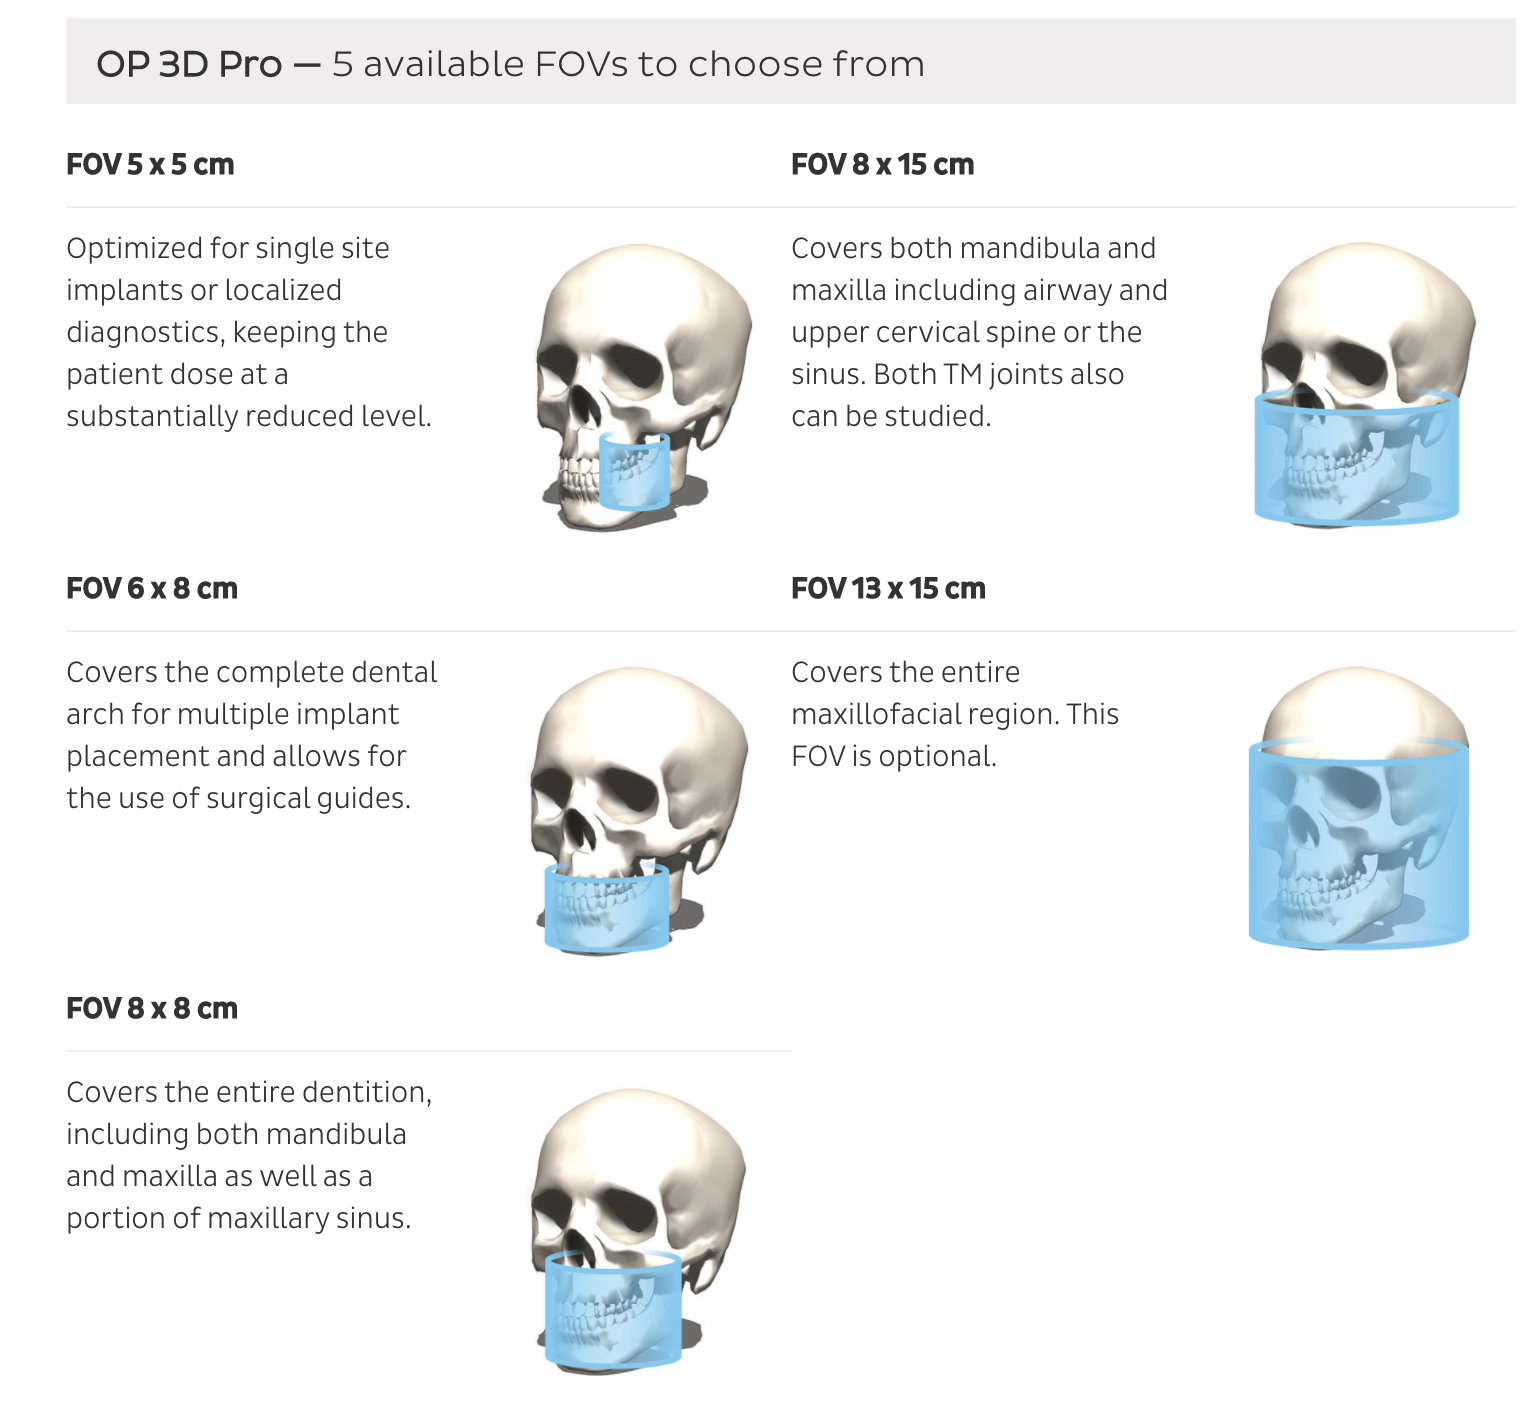
OP 3D Pro — 5 available FOVs to choose from
FOV 5 x 5 cm
Optimized for single site implants or localized diagnostics, keeping the patient dose at a substantially reduced level.

FOV 8 x 15 cm
Covers both mandibula and maxilla including airway and upper cervical spine or the sinus. Both TM joints also can be studied.

FOV 6 x 8 cm
Covers the complete dental arch for multiple implant placement and allows for the use of surgical guides.

FOV 13 x 15 cm
Covers the entire maxillofacial region. This FOV is optional.

FOV 8 x 8 cm
Covers the entire dentition, including both mandibula and maxilla as well as a portion of maxillary sinus.

OP 3D Pro small panel — 2 available FOVs to choose from
FOV 6 x 4 cm
Optimized for single site implants or localized diagnostics, keeping the patient dose at a substantially reduced level.

FOV 6 x 8 cm
Covers the complete dental arch for multiple implant placement and allows for the use of surgical guides.